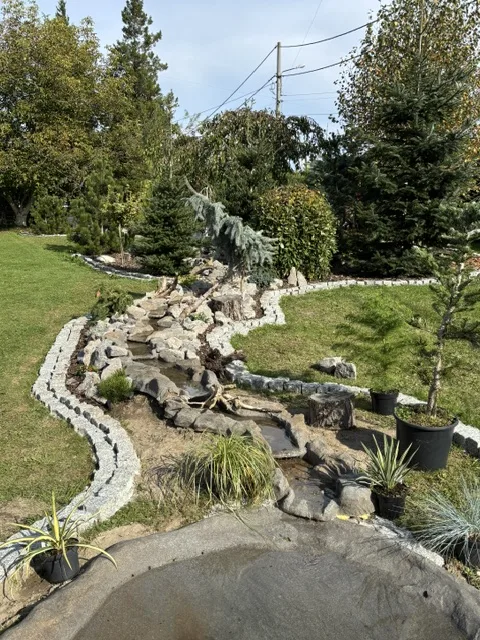
A cascade brings sound to a pond and improves water oxygenation. It can be built from natural stone or ready-made GRP elements, or commissioned to measure. The sequence is similar whichever material is chosen. We explain it using projects where we selected elements and built garden cascades.
1. Plan the water route
Start where the cascade should end, usually beside the pond so that water enters it rather than the bank. Then set the starting point: higher means louder water and a larger pump. Use a natural slope or create one from the pond excavation. For a longer stream, plan bends and steps every few tens of centimetres so that the water does not follow one straight channel.
2. Choose the step material
- Natural stone – durable but heavy; needs a solid substrate and careful sealing between stones.
- Ready-made GRP elements – lightweight basins and steps with rock texture that overlap. You can lay the stream yourself without screwing or filling joints.
- Bespoke cascade – made for a particular slope, wall or hot tub where ready-made elements do not fit.
3. Prepare the substrate
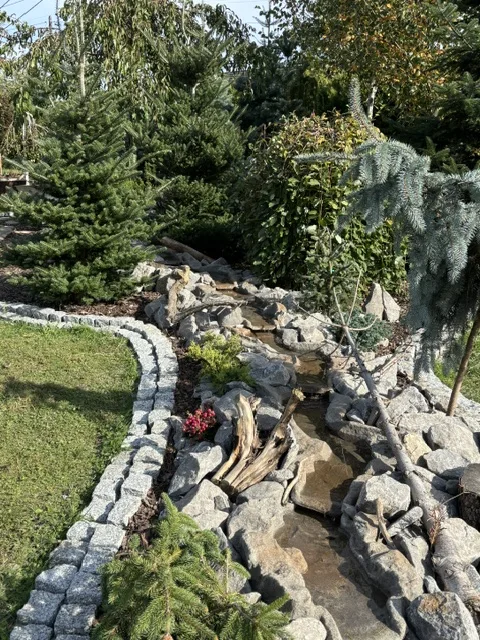
Excavate a shallow channel and form the slope. Remove stones and roots and compact the soil well: settlement is the most common cause of leaks. Natural stone usually sits on fleece and liner, while ready-made GRP elements are placed on compacted, levelled ground or a sand bed.
4. Lay elements from the bottom
Place the first element beside the pond, with its spillway over the water surface. Work uphill, each element overlapping the previous one in the flow direction so that water cannot escape underneath. Check with a spirit level that spillways tilt slightly forward and the sides are no lower than the lip.
5. Choose a pump and lay the hose
The pump sits in the pond and a hose carries water to the highest element, ideally hidden in soil beside the stream. Output depends on lift height and spillway width. Pump manufacturers provide performance curves for different heights; compare that figure, not the maximum on the packaging, with cascade needs. Allow a margin for longer hoses, as flow resistance reduces output.
6. Check for leaks, then plant
Before covering edges and planting, run the water for several hours. Watch the pond level and stream edges; a falling level indicates leakage. Only once everything works should edges be hidden with stones, gravel and plants. Avoid strong-rooted plants immediately beside the elements.
7. Prepare for winter
GRP elements are frost-resistant and can remain outside. Empty the hose for winter and protect the pump according to its manufacturer’s instructions; it is usually removed from the water and stored indoors.
Ready-made elements or a bespoke cascade?
Ready-made elements usually suffice for a domestic pond; that is how the 14-metre stream in Silesiawas made. Where a cascade must fit a wall, slope or hot-tub area, we make it to measure. Both options are described on the page garden cascades for ponds, and indicative prices in price list.